Photo Essay - Bernie Sanders Rally 5/22/16
Rainy Day
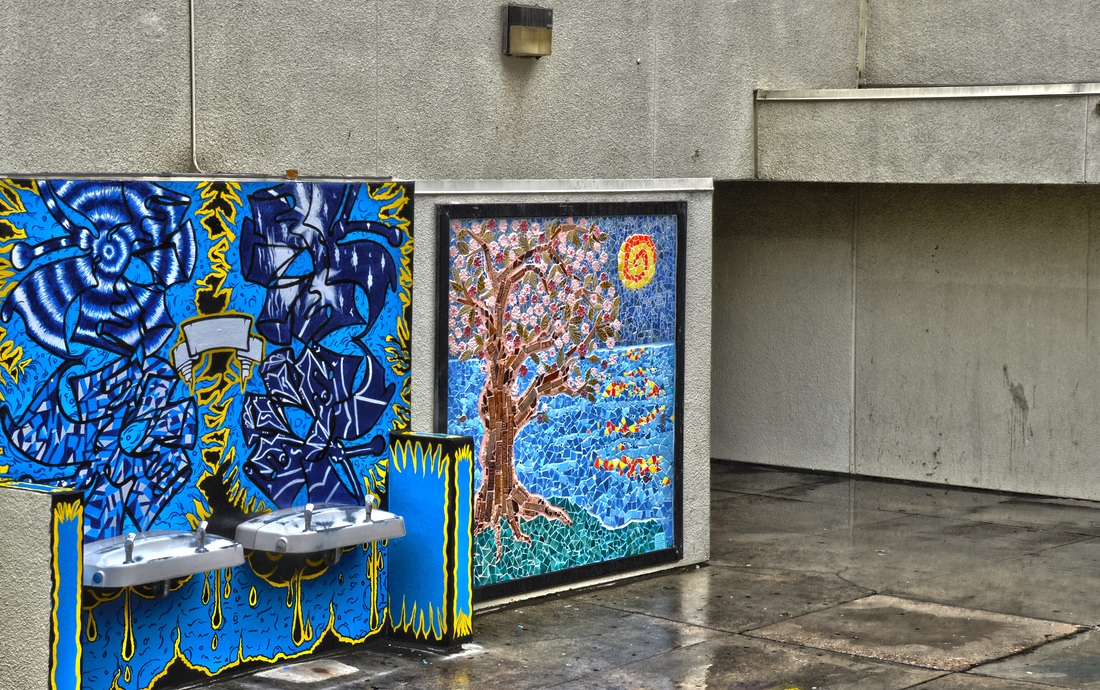
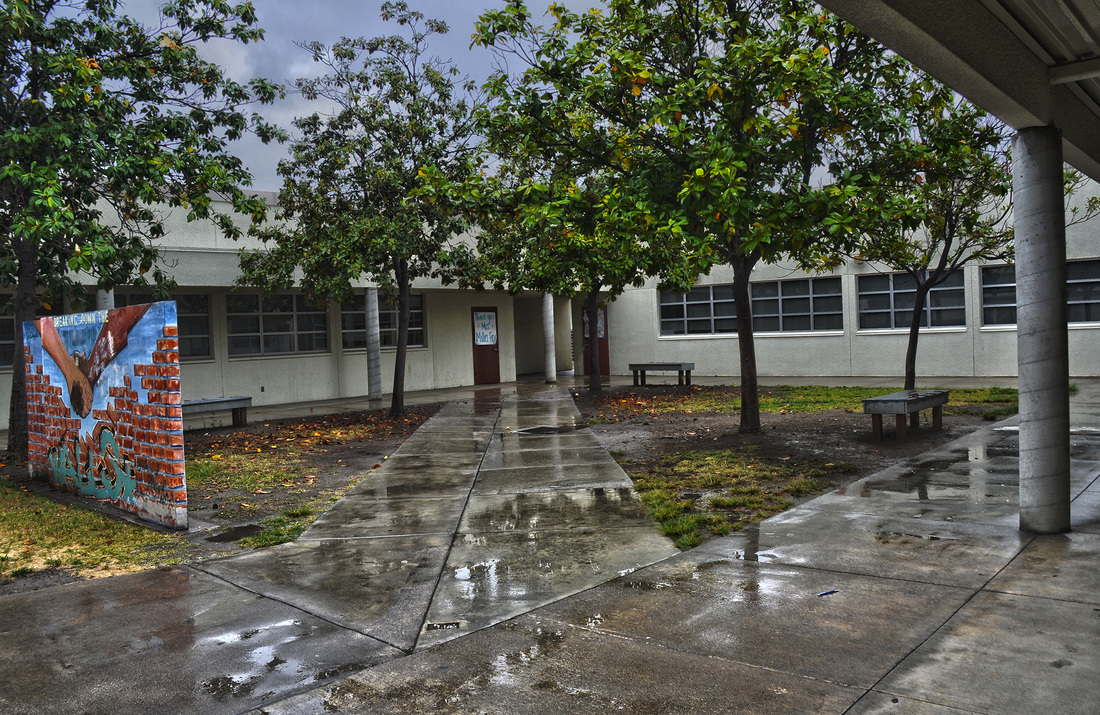

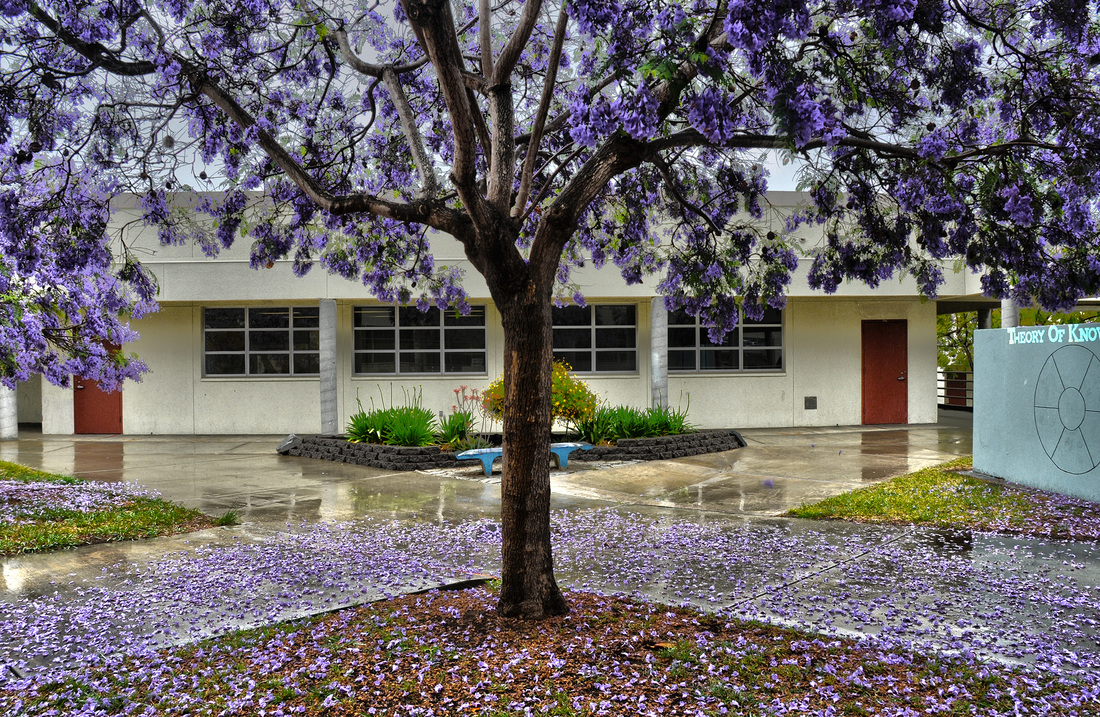

Photo 1: ISO 400, 50mm, f/8, Shutter Speed 1/180
Photo 2: ISO 400, 18mm, f/8, Shutter Speed 1/180
Photo 3: ISO 400, 18mm, f/8, Shutter Speed 1/250
Photo 4: ISO 400, 18mm, f/8, Shutter Speed 1/180
Photo 5:ISO 400, 24mm, f/8, Shutter Speed 1/90
For the Rainy Day project, I decided to take all my pictures using HDR. I felt as if HDR would make the rain and buildings look beautiful. HDR is my favorite style of photographs and I am very happy with the way the pictures came out. To make these pictures come out in HDR, I had to take 5 identical photos with different exposures. Once, I opened photoshop, I used Merge to HDR Pro so I could get an HDR photo. The pictures looked great and I had to slightly adjust the settings to make them look the way they do now. Rainy days might look grey and dull to the human eye, but through a camera lens, rainy days are stunning.
Chalk Day Festival
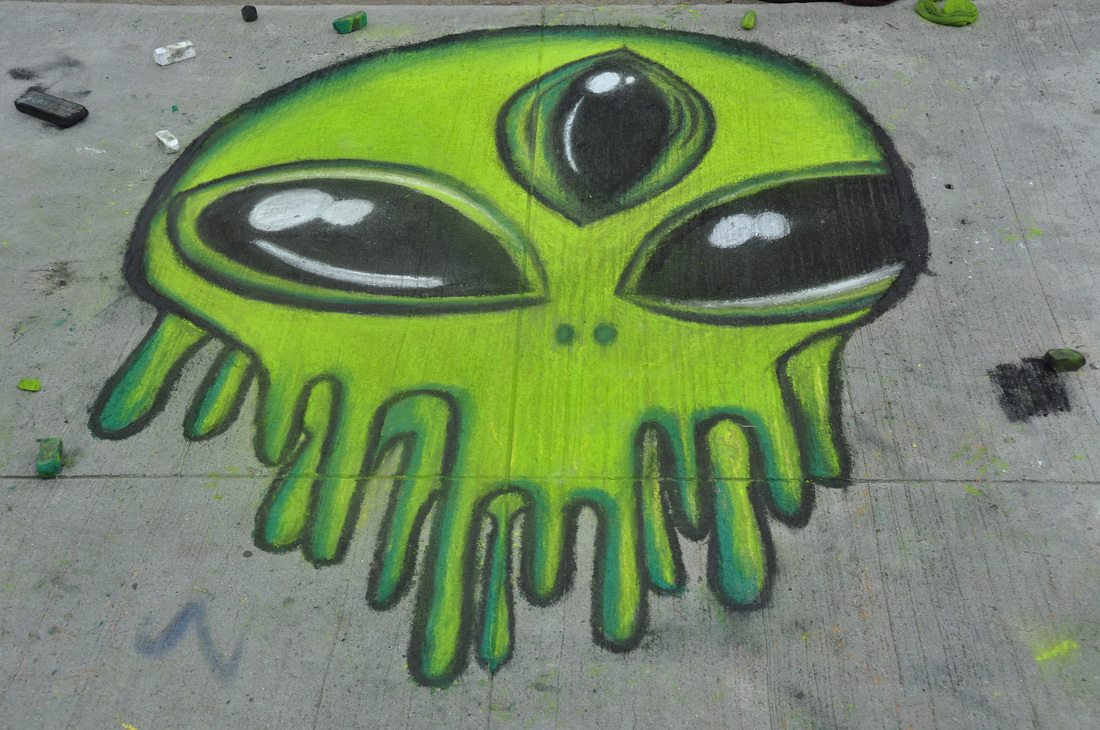


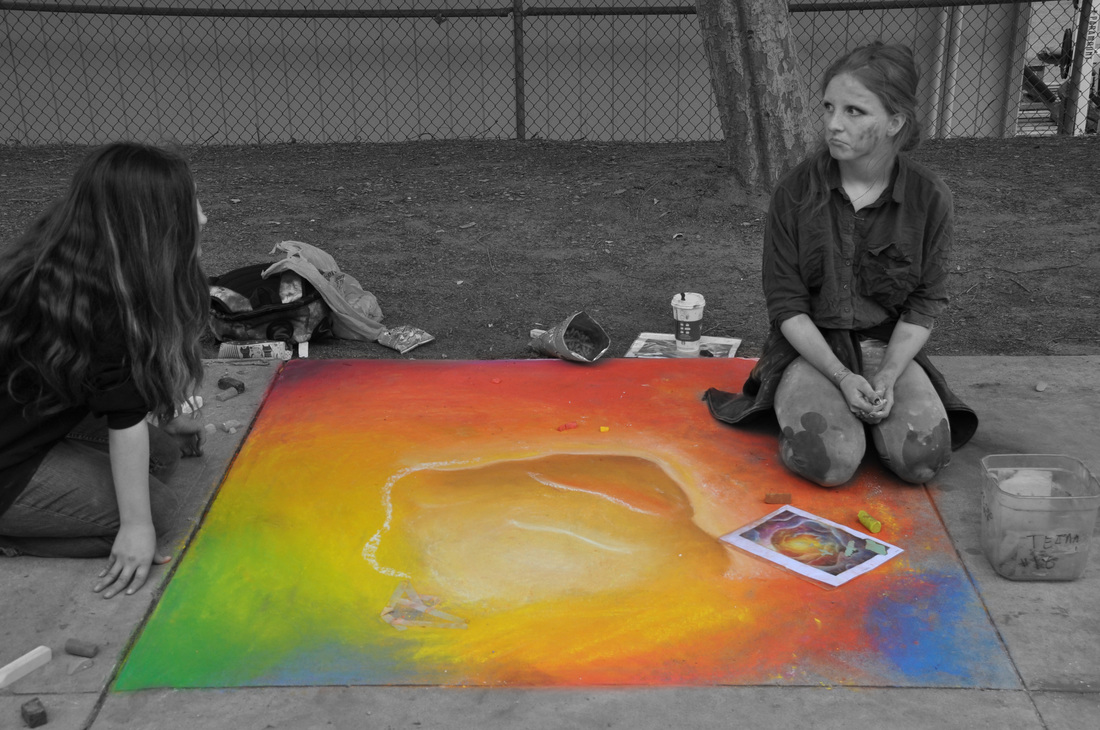
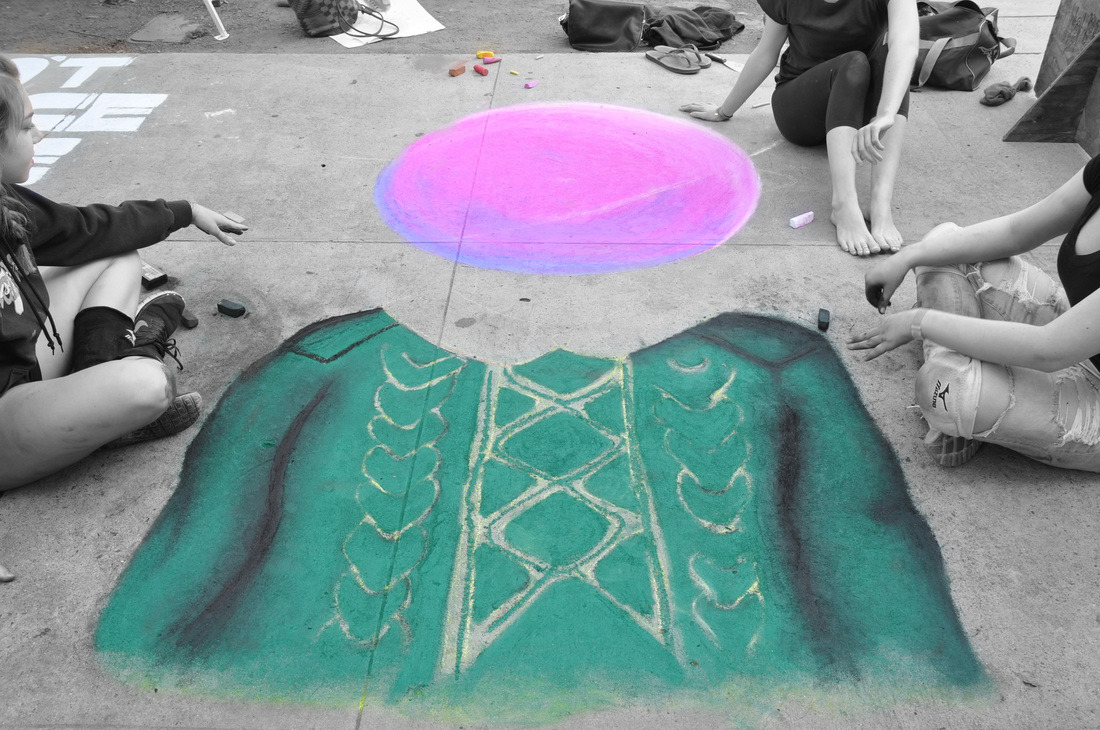
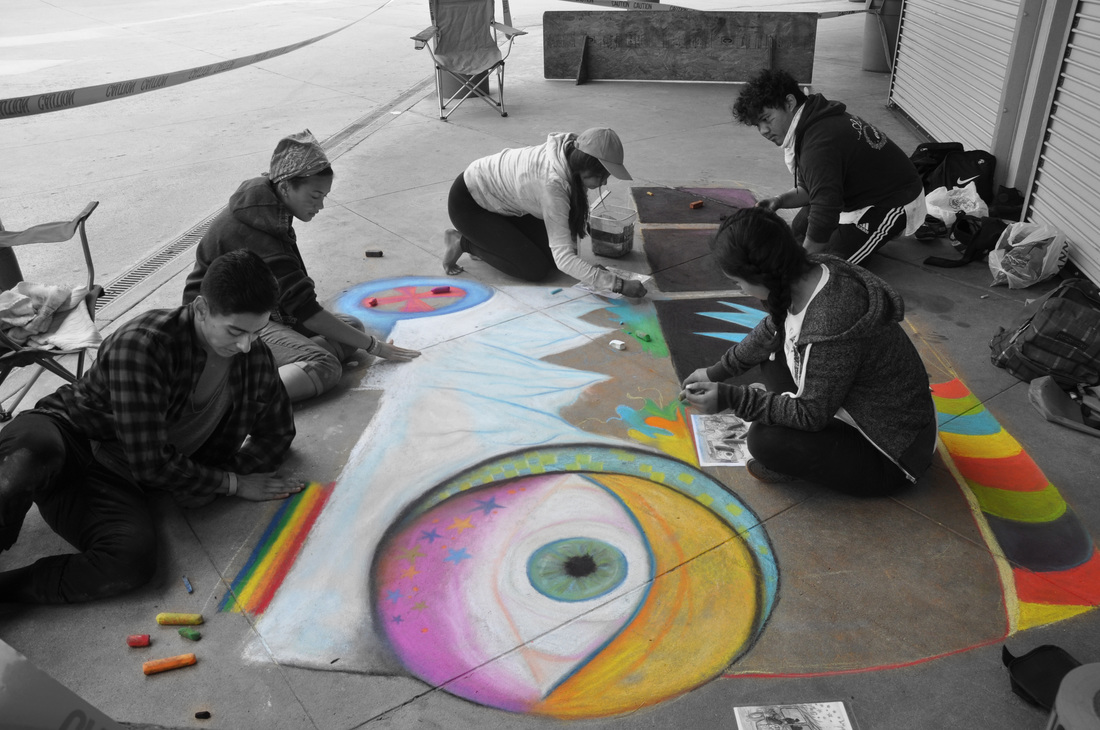
Photo 1: ISO 250, 35mm, f/8, Shutter Speed 1/180
Photo 2: ISO 250, 52mm, f/8, Shutter Speed 1/125
Photo 3: ISO 250, 66mm, f/8, Shutter Speed 1/125
Photo 4: ISO 250, 32mm, f/8, Shutter Speed 1/180
Photo 5: ISO 250, 22mm, f/8, Shutter Speed 1/90
Photo 6: ISO 250, 20mm, f/8, Shutter Speed 1/125
The chalk festival is an annual art even at RBV where students showcase their art using only chalk. Every year there is a theme that students must base their art on. It's a great way for students to come together and showcase their abilities. Each photo was taken to showcase the students art and to capture them in the moment. Two photos were layer masked in photoshop to make the picture black and white, except for the art. This makes the art stand out and allows the eyes to be instantly directed to the piece. Overall, the chalk festival is a great event for students, which is why it is done annually.
Portraiture Photography
|
|
|
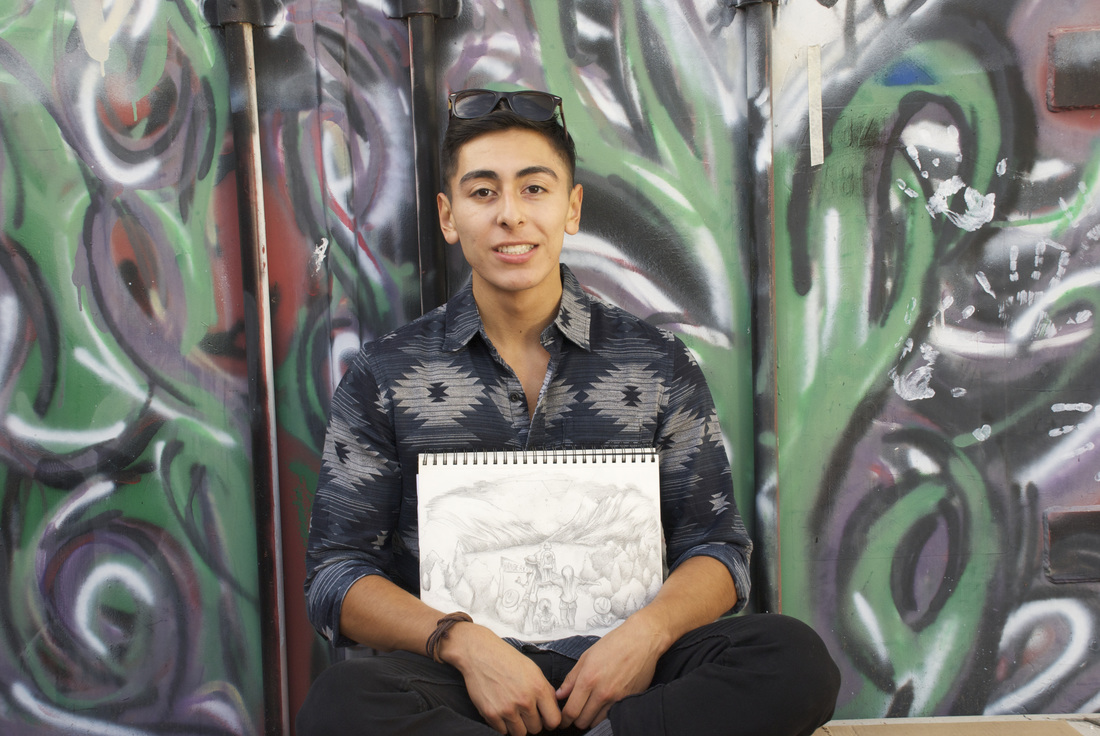
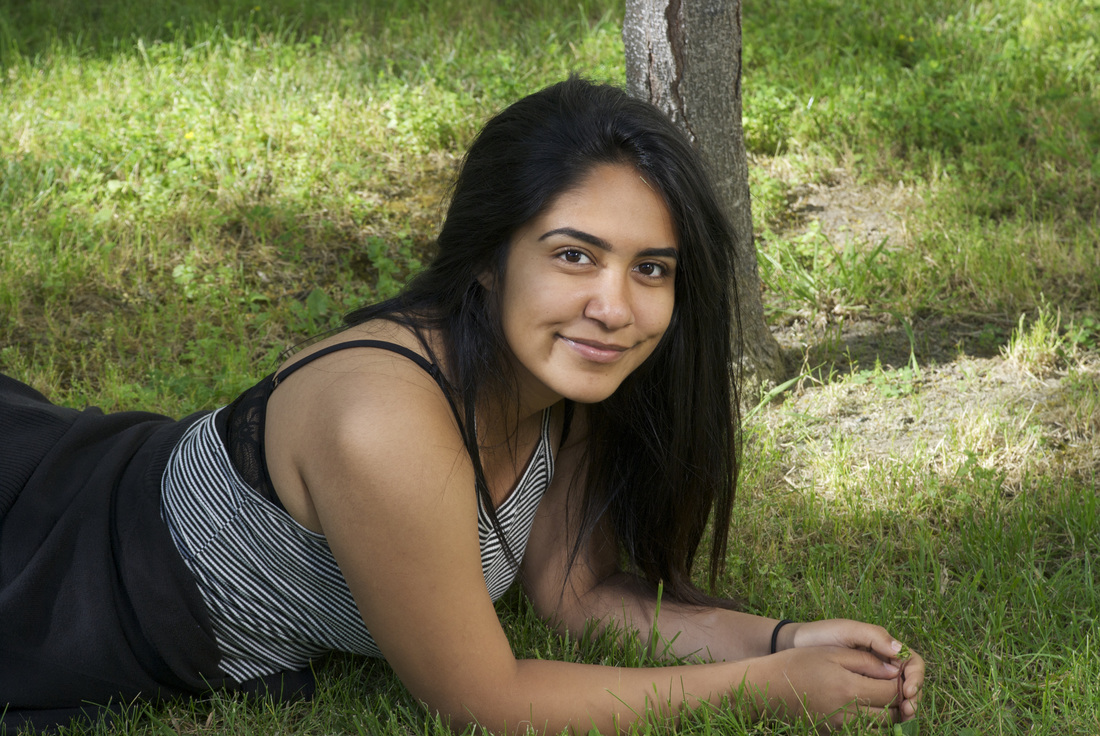
Photo 1: ISO 200, f/8, and Shutter Speed 1/125
Photo 2: ISO 250, f/8 and Shutter Speed 1/90
Photo 3: ISO 200, f/8 and Shutter Speed 1/125
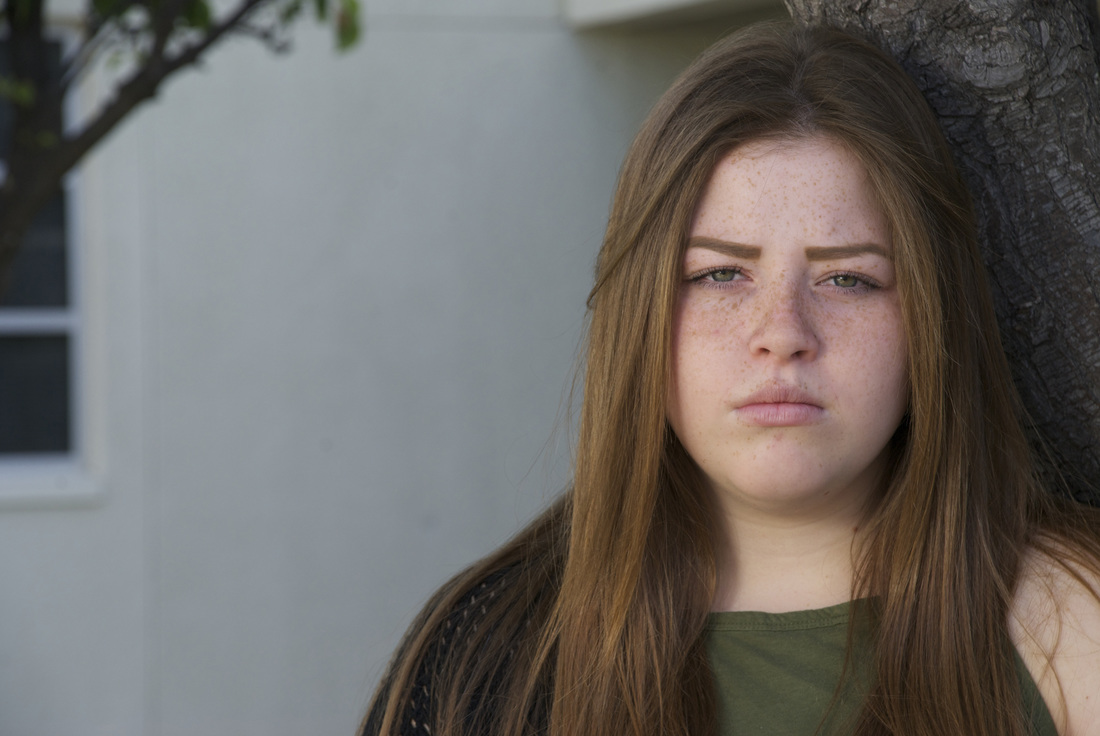
Portraiture Photography is a great way to portray ones emotions in a picture. In all three photo's above, three different emotions are shown. For all three photographs, the background was carefully picked to emulate the emotion that was trying to be captured. For the first photo, the picture was taken by a tree and grey building. This background was a little dark which allowed for the emotion of anger to captured. The second photo is representing the emotion of happiness that is brought when doing something you love. In this instance my model loves art, so the background is of a graffiti wall to portray art. Finally, the last picture represents happiness, so the background is a grassy land with a tree to show the beauty of nature, which can bring happiness to many. Overall, portraiture photography is a style that I enjoy since it visibly shows an emotion and can be interpreted differently by many.
Photo 2: ISO 250, f/8 and Shutter Speed 1/90
Photo 3: ISO 200, f/8 and Shutter Speed 1/125
Portraiture Photography is a great way to portray ones emotions in a picture. In all three photo's above, three different emotions are shown. For all three photographs, the background was carefully picked to emulate the emotion that was trying to be captured. For the first photo, the picture was taken by a tree and grey building. This background was a little dark which allowed for the emotion of anger to captured. The second photo is representing the emotion of happiness that is brought when doing something you love. In this instance my model loves art, so the background is of a graffiti wall to portray art. Finally, the last picture represents happiness, so the background is a grassy land with a tree to show the beauty of nature, which can bring happiness to many. Overall, portraiture photography is a style that I enjoy since it visibly shows an emotion and can be interpreted differently by many.
Baby Photography
|
|
|
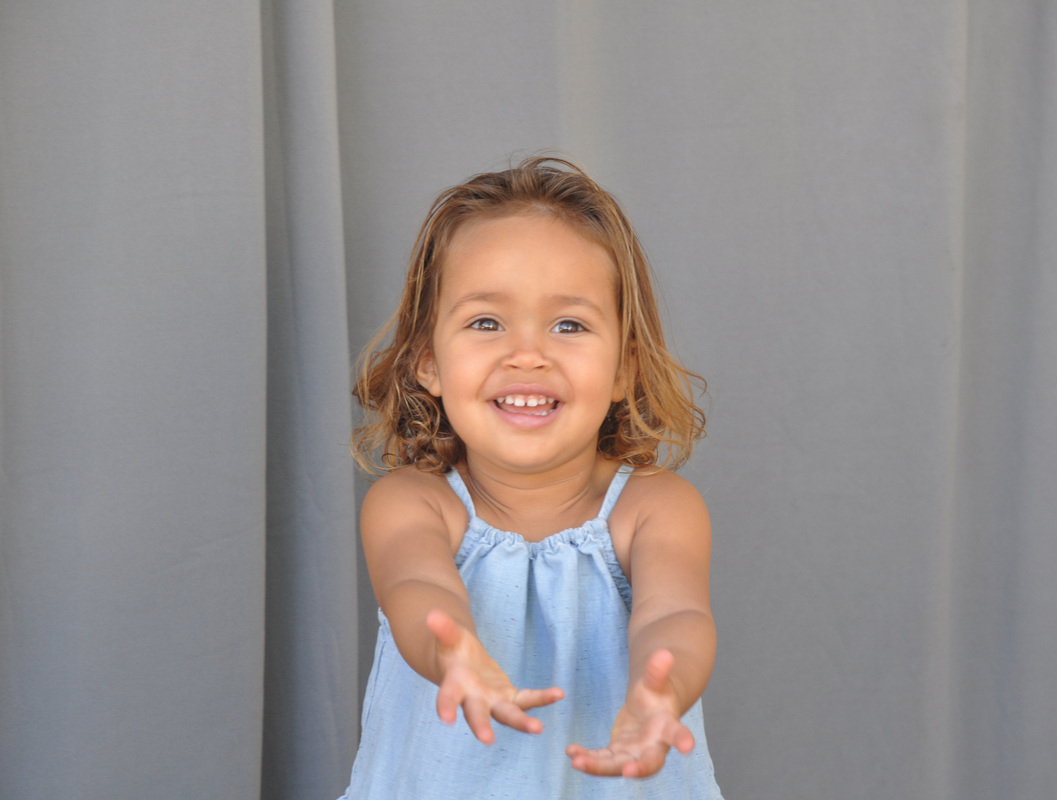
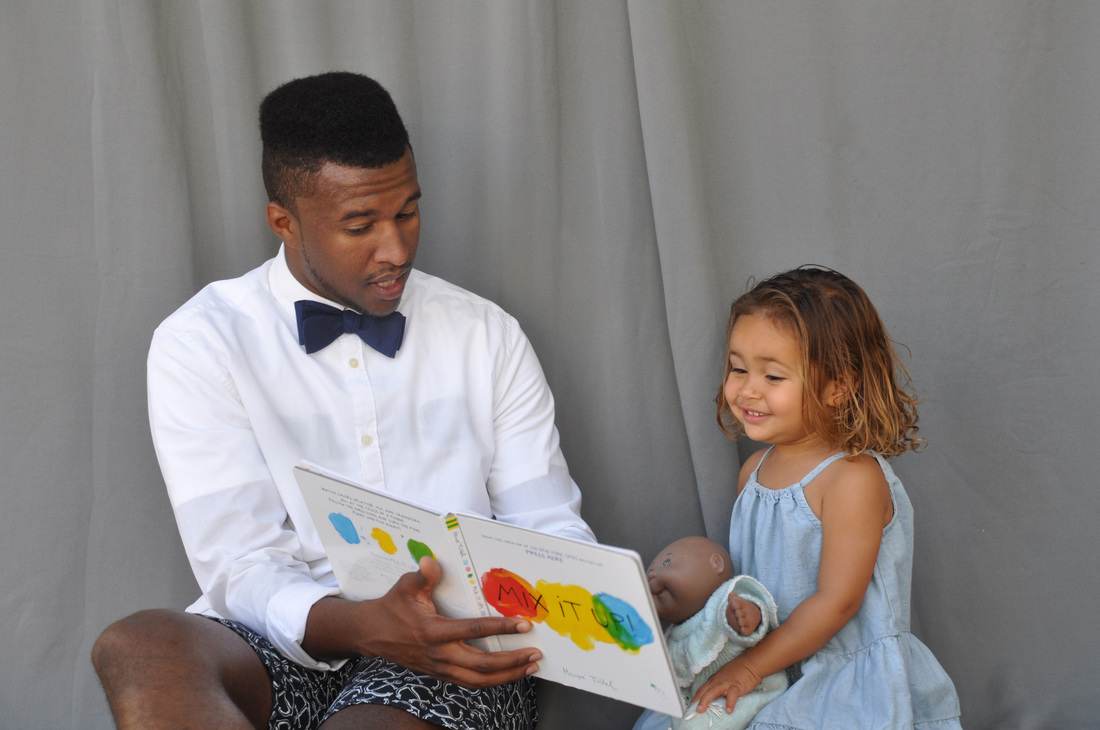
Photo 1: ISO 400, f/8, and Shutter Speed 1/45
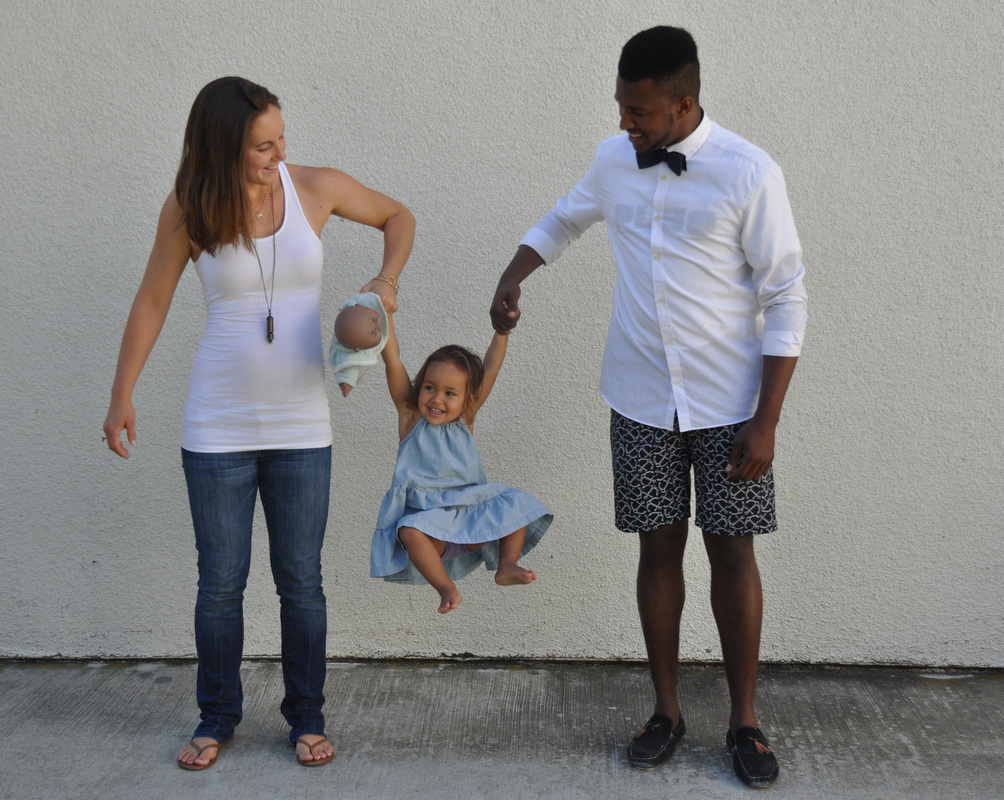
Photo 2: ISO 400, f/4.2, and Shutter Speed 1/750
Photo 3: ISO 400, f/8, and Shutter Speed 1/125
Baby/Child Photography has to be the one style of photography that will bring a smile on your face. It is so much fun photographing such an energetic child that keeps you smiling and laughing. For two of the photos, a grey background was used, just like in professional portraiture. The only difference for the second photo, was the Shutter Speed was increased to capture the swinging motion of the child. Baby photography is very fun and is entirely up to the photographer to decide what positions they would like the baby to be put in. For this project, we incorporated the child's family as well to show who happy they are. Overall, baby photography is very entertaining and the moments captured can bring a smile on anybody's face.
Food Photography

|
|
|
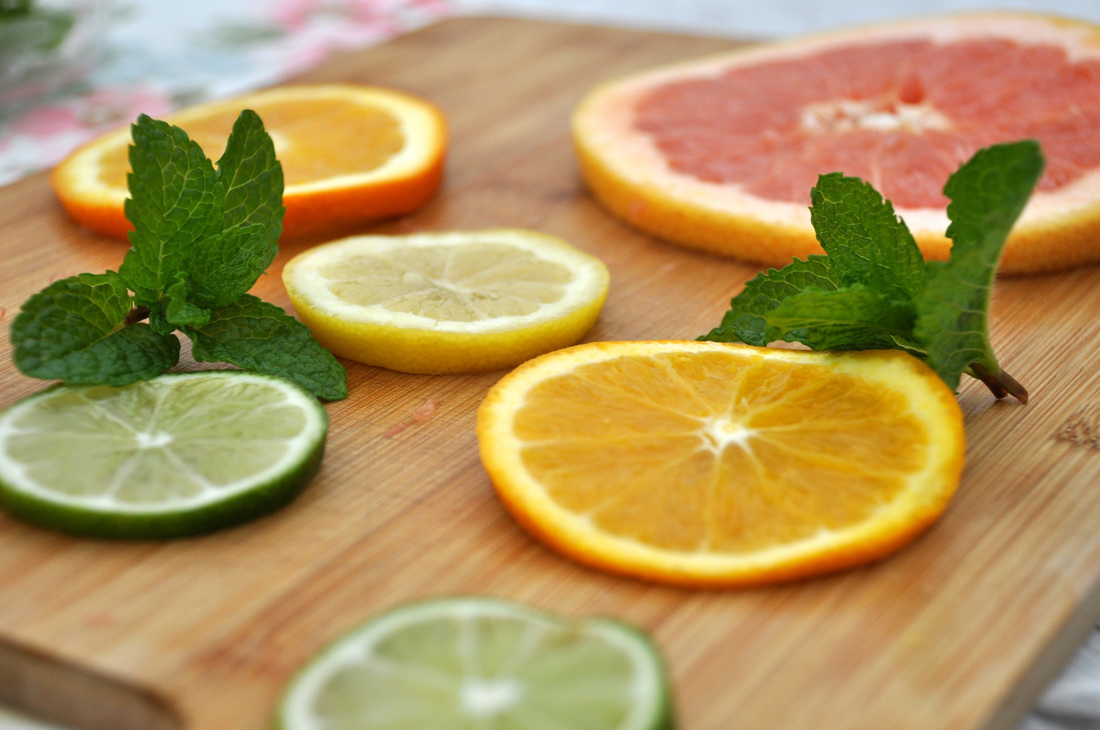
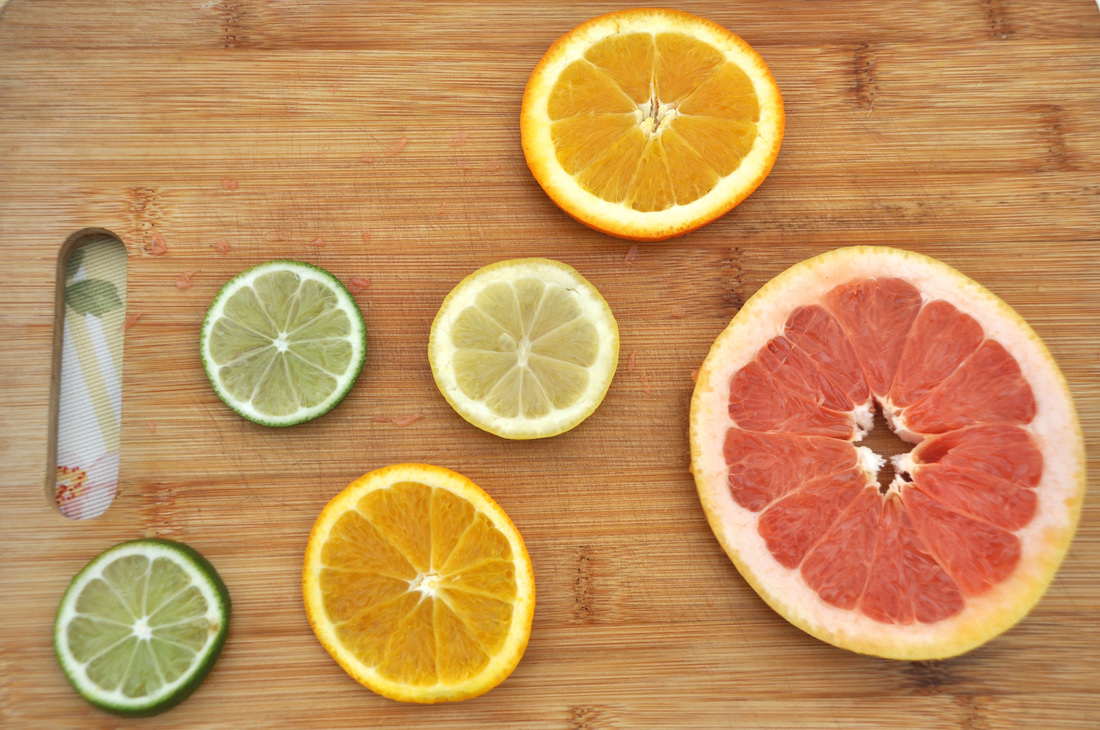
Photo 1: ISO 320, f/5.6, and Shutter Speed 1/500
Photo 2: ISO 320, f/5.6, and Shutter Speed 1/1,000
Photo 3: ISO 320, f/5.6, and Shutter Speed 1/1,000
Food Photography is definitely the most tricky style of photography I have taken. The photographer must use their mind to position the food and see what would look best. I found myself taking various photos from different angles and setups to see what worked best. For all the pictures above, various food props like a cutting board and a bowl were used to add emotion to the photos. Finally, in Photoshop the contrast was slightly raised to make the food stand out.
Stop Action Photographs
|
|

|
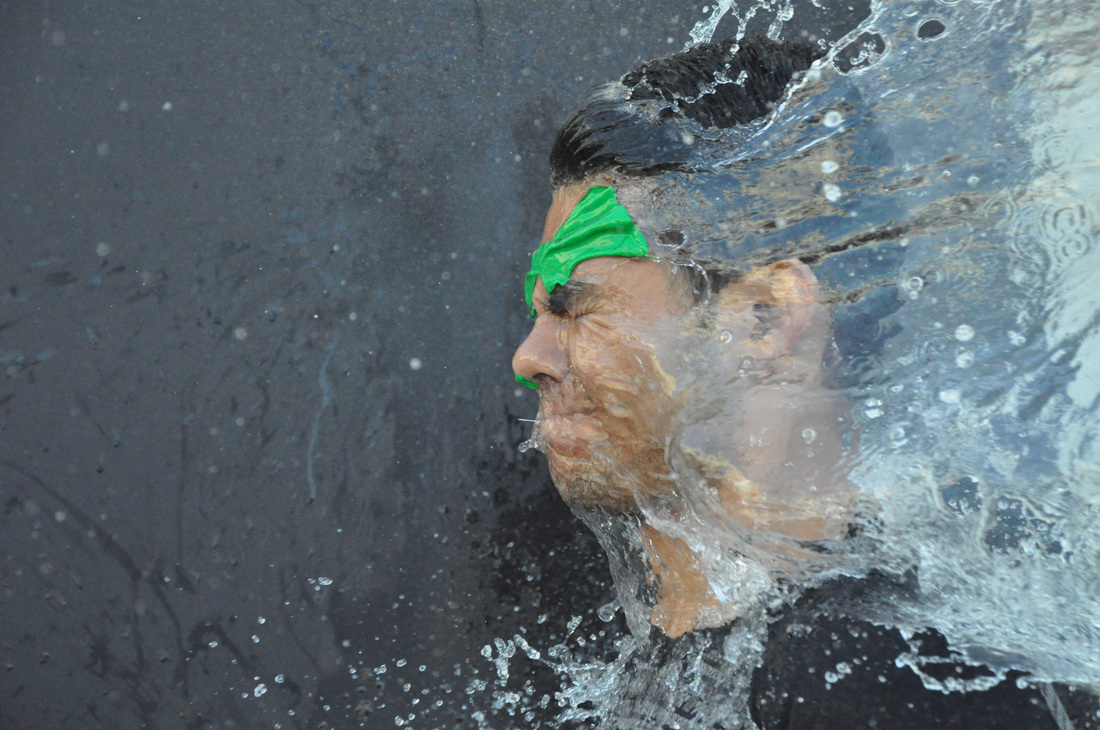
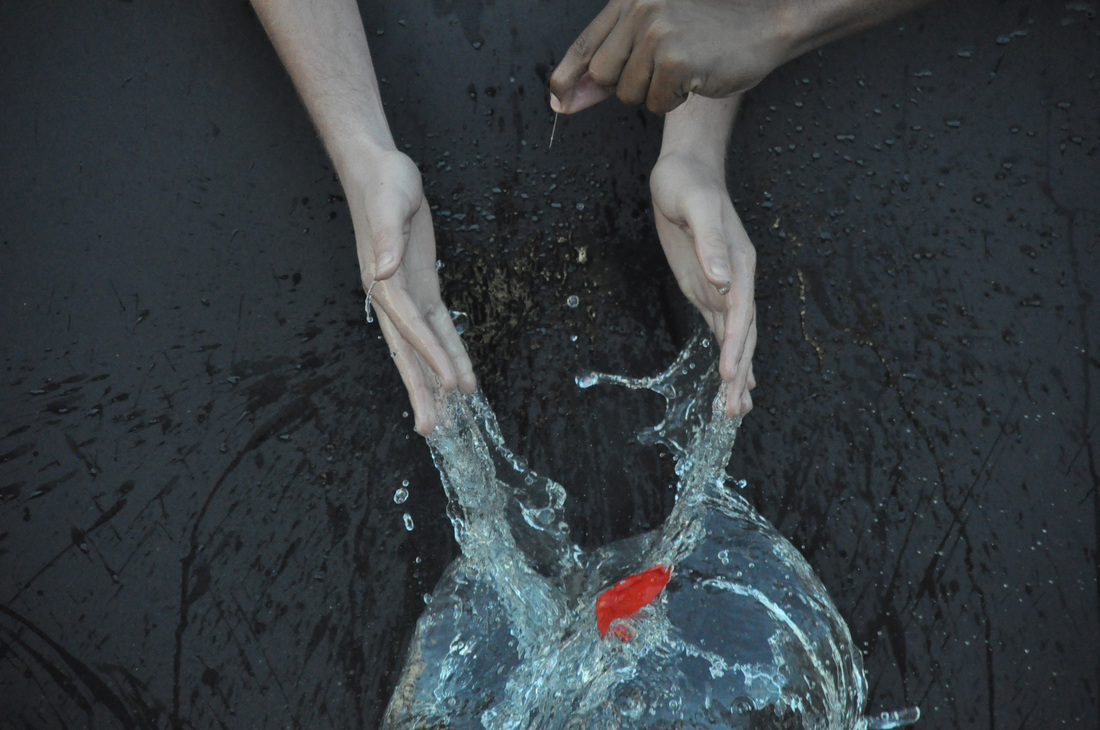
Photo 1: ISO 3200, f/5.3, and Shutter Speed 1/1,500
Photo 2: ISO 3200, f/5.6, and Shutter Speed 1/1,500
Photo 3: ISO 3200, f/5.6, and Shutter Speed 1/1,500
For all three photos a black background, water balloons, and helpers were needed to capture the photos. They were all taken by popping balloons and taking a picture at the right moment. These photos all required patience and luck, since the balloons were popped so fast. However, when the pictures are successful they come out great and the project overall is very entertaining.
Tessellations

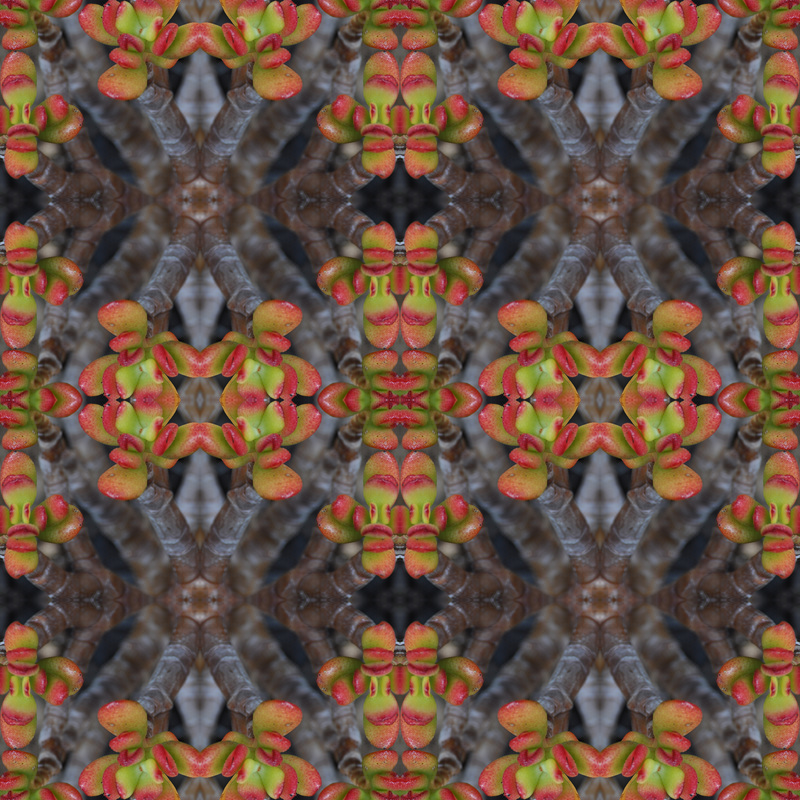
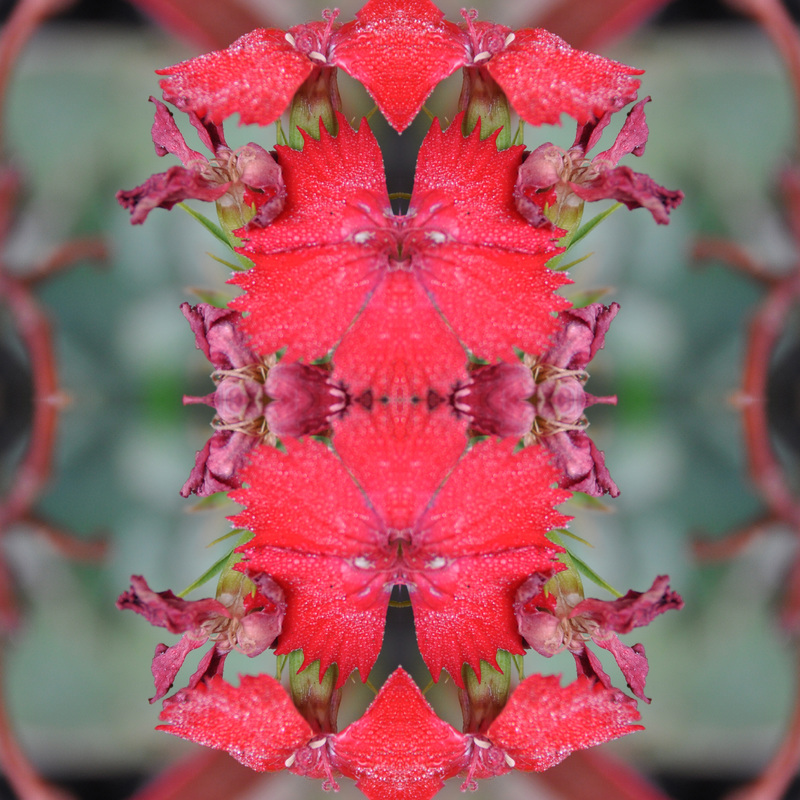

A tessellation is a photo that is symmetric and has a tile look to it. To make the tessellations, you first need to create a template in photoshop using the rulers and moving them to 4 inches. This will create four 4x4 squares and it is what you will use for the tessellation. Then you need to open a picture and use the 1x1 crop to select an area you want from the picture. Resize the picture to 4x4 and then drag it to the template using the move tool. Once the picture is placed in the first square, duplicate the layer and then move it to the adjacent square. You then need to move the picture either horizontally or vertically depending on the position of the picture. After this you keep duplicating layers and changing the position until you get the finished product. Making these tessellations wasn't a big struggle for me, I am a quick learner when it comes to technology so I picked it up very quickly. I am proud with how my 4 tessellations came out, especially the second one because that tessellation required more time since it was a 2x2 tessellation. Overall, it was a great project and I am glad I learned a new photoshop technique that I will keep using in the future.
